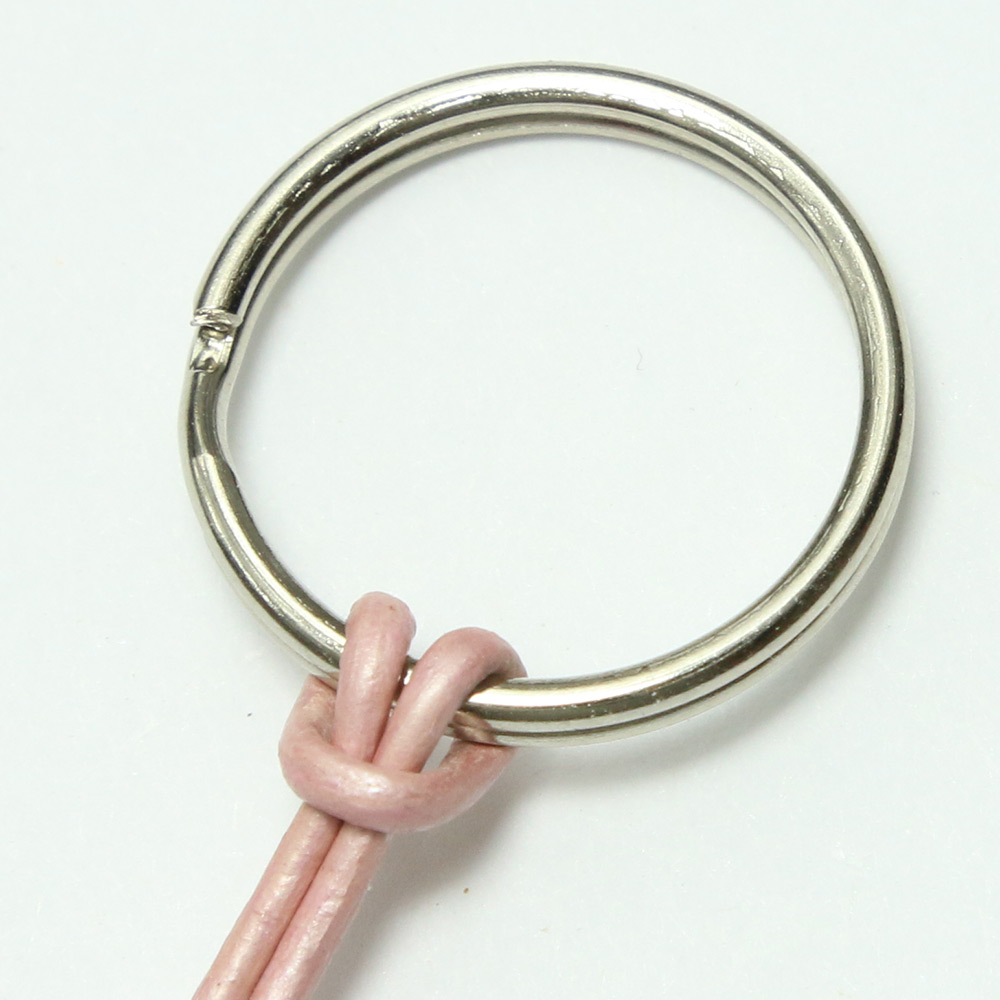
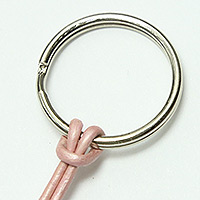
 1. Find the halfway point of your cord or lacing and fold it in half. Attach the folded cord to your key ring or lanyard hook using a lark's head knot, as shown in the photo. You should now have two equal lengths of cord hanging from the key ring.
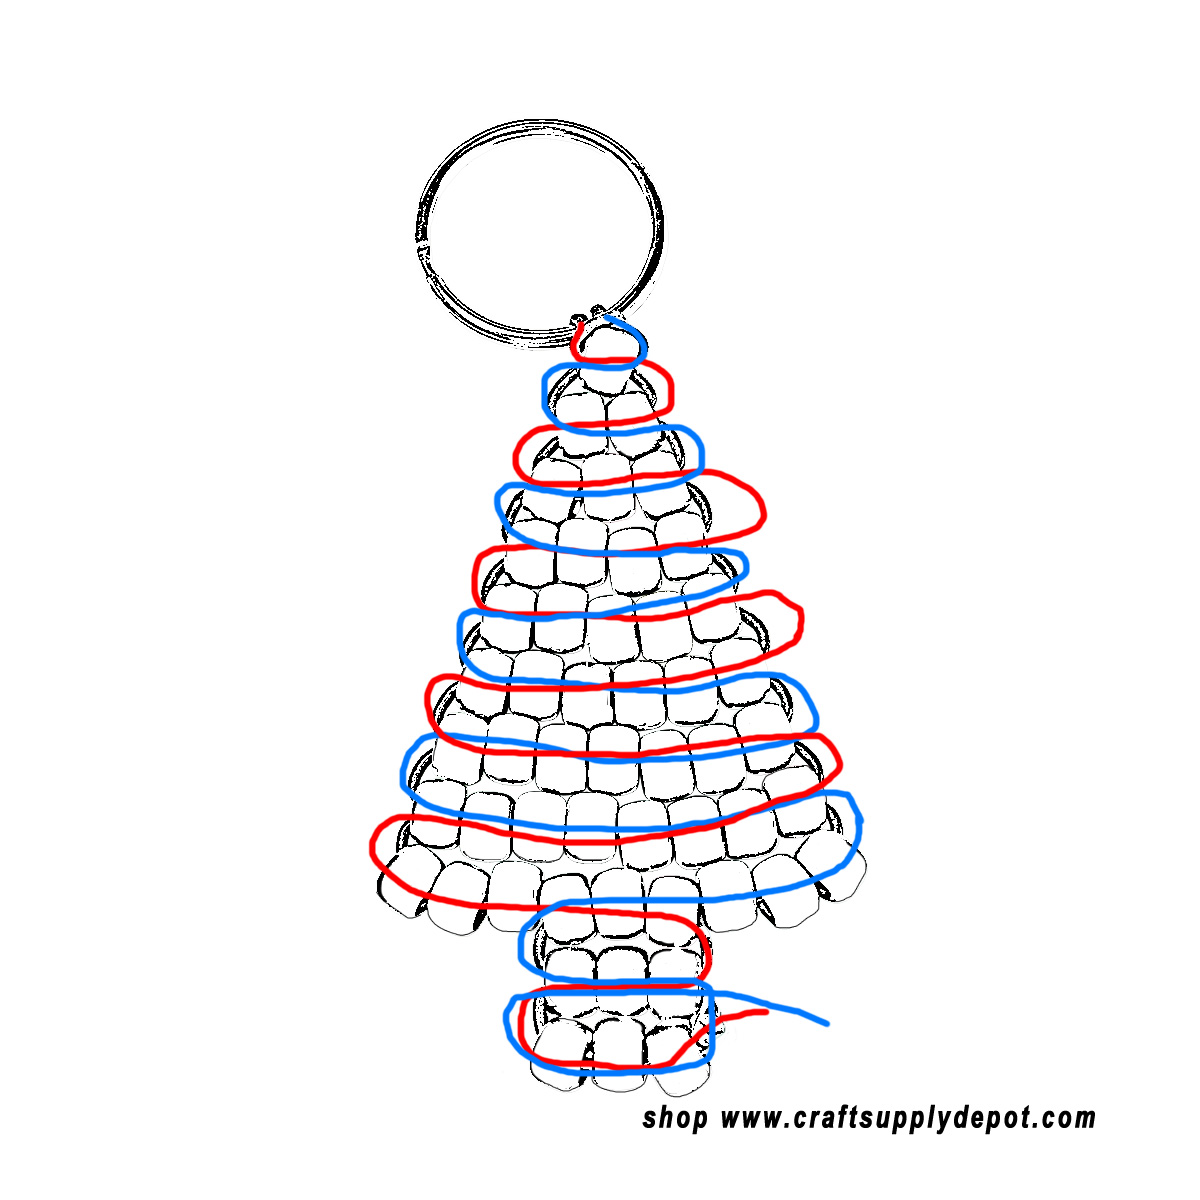
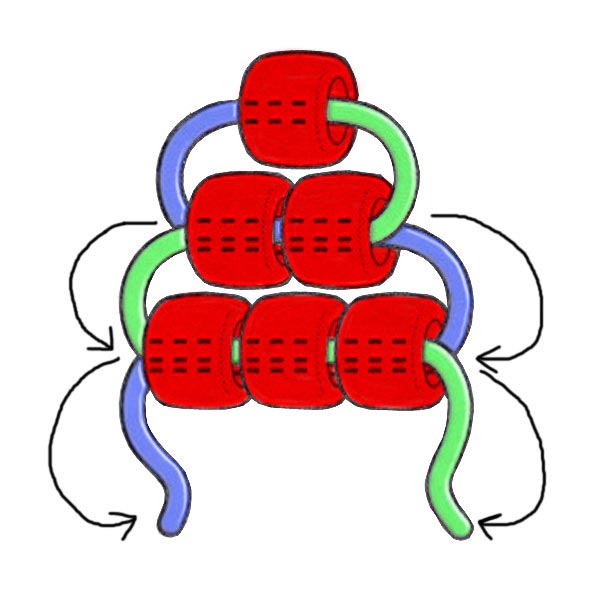 2. Using the Christmas tree bead diagram at the bottom of these instructions as your guide, begin at the top of the tree with the star bead. Thread both cords through the star bead, then begin weaving the remaining rows. For each row, string the beads onto one cord, then pass the other cord back through the same beads from the opposite direction, as shown in the illustration. Gently pull both cords until the beads rest snugly against the row above.
3. Continue weaving the beads one row at a time, working downward through the Christmas tree pattern. Follow the bead arrangement and cord paths shown in the diagram, or using the row guide below to help you keep track of the number of beads in each row. Pull the cords evenly after each row, keeping them snug without pulling so tightly that the tree curls or loses its shape.
Christmas Tree Bead Row Guide
| Row |
Number of Beads |
Suggested Beads |
| 1 |
1 bead |
Green |
| 2 |
2 beads |
Green |
| 3 |
3 beads |
Green with 1 optional accent bead |
| 4 |
4 beads |
Green with 1 optional accent bead |
| 5 |
5 beads |
Green with 1 optional accent bead |
| 6 |
6 beads |
Green with 1 optional accent bead |
| 7 |
7 beads |
Green with 1 or 2 optional accent beads |
| 8 |
8 beads |
Green with 1 optional accent bead |
| 9 |
9 beads |
Green with 1 or 2 optional accent beads |
| 10 |
3 beads |
Brown trunk beads |
| 11 |
3 beads |
Brown trunk beads |
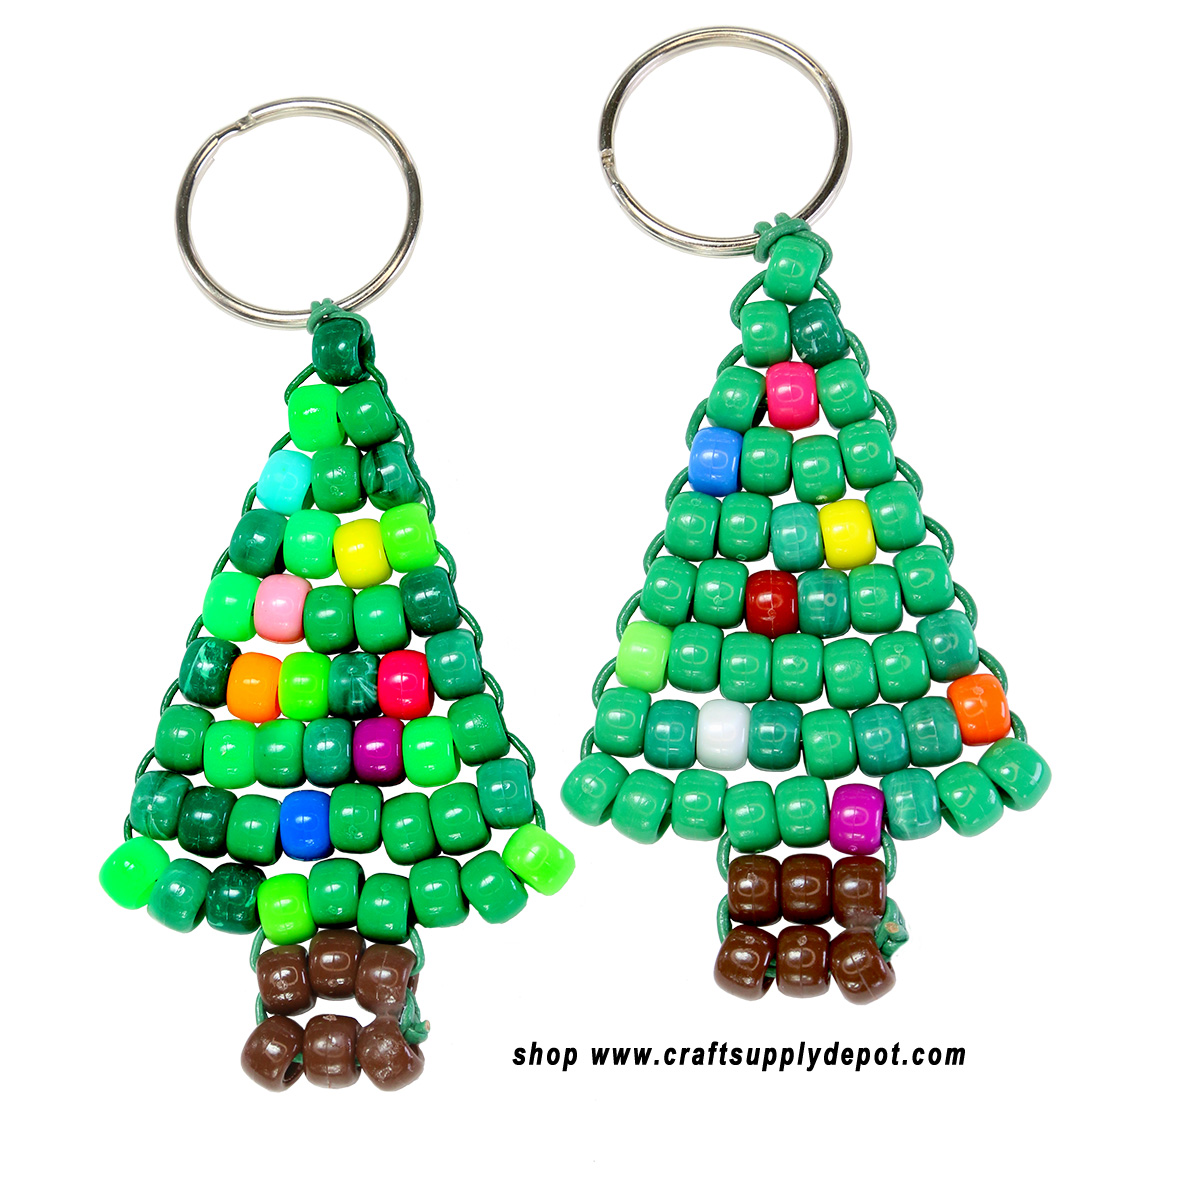
4. Continue adding the green pony beads and colorful ornament beads according to the diagram. The accent beads represent Christmas ornaments and lights decorating your tree. Feel free to substitute different ornament colors to give your finished Christmas tree its own festive appearance.
5. When you reach the bottom row of 9 beads, string 6 beads onto one cord. On the other cord, string 3 beads, then pass the cord with the 3 beads through the last 3 beads on the first cord (with 6 beads), going in the opposite direction. You will now have 3 beads on each end of the row, with both cords passing through the center 3 beads. Pull the cords until the beads are positioned evenly and the row lies flat. Too much slack will cause your row to sag, too tight and your row will curl.
Next comes the trunk. Thread both cords through 3 brown beads from opposite directions. Add another row of 3 brown beads in the same manner. Then take one cord and pass it back through the previous row of 3 brown beads. Both cord ends will now be on the same side of the trunk. Doing this will bring the cord ends closer together and make the knot less noticeable. If your cord is too thick to pass back through the beads, or you'd prefer not to finish your cord this way, you can tie a separate knot on each side of the trunk instead. Otherwise, tie the two cord ends together using a surgeon's knot or double knot. Apply a small drop of glue to the knot or knots to prevent them from coming untied. Allow the glue to dry before trimming the excess cord.
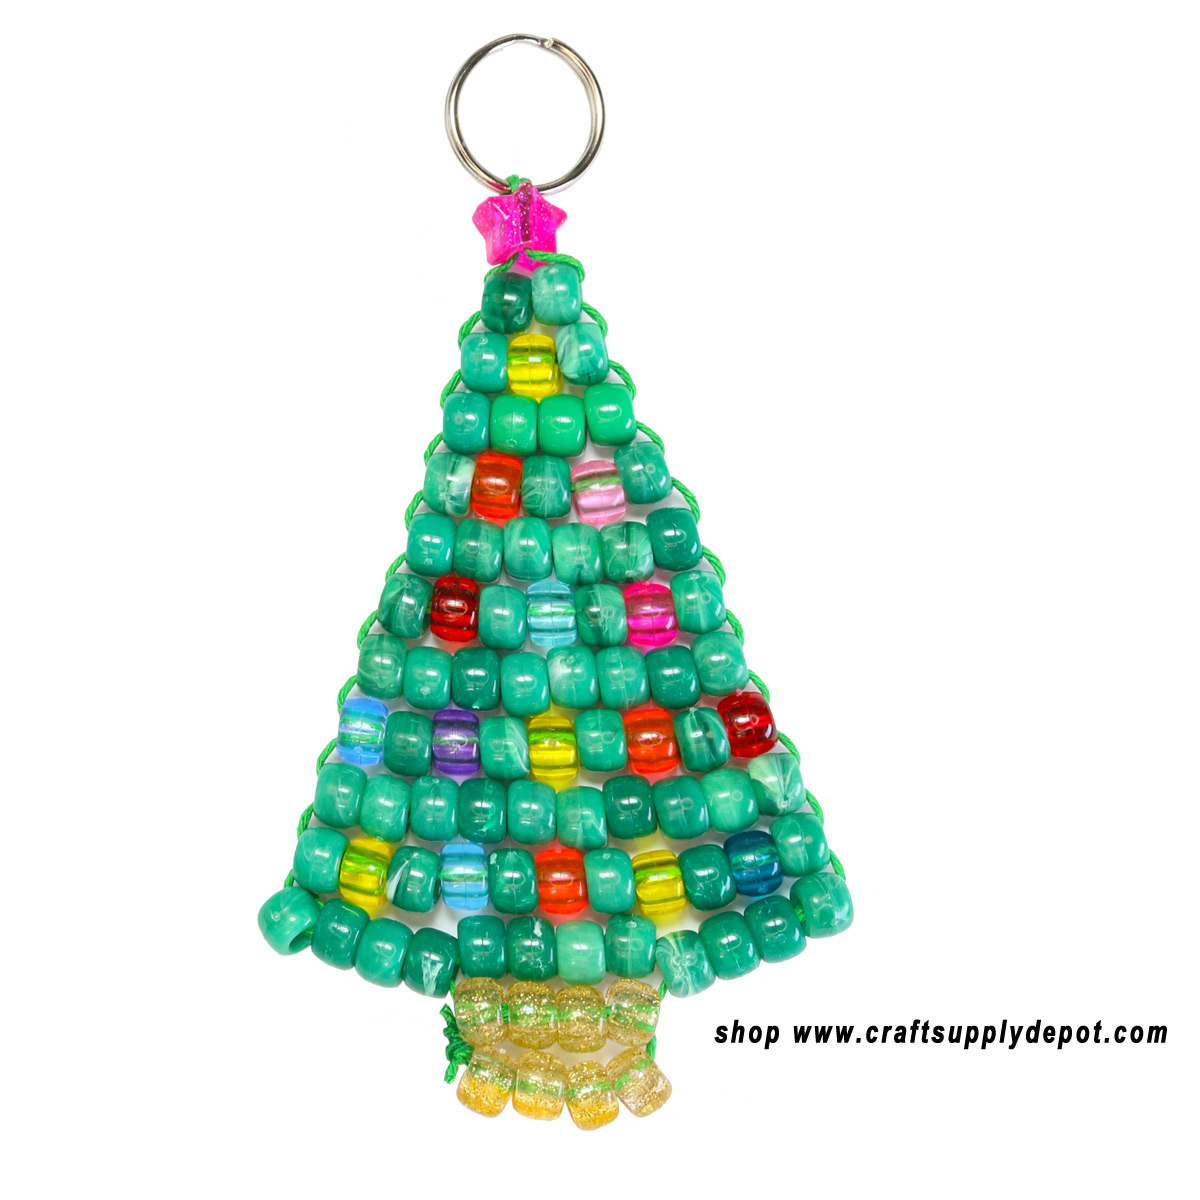
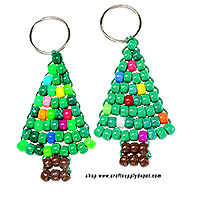
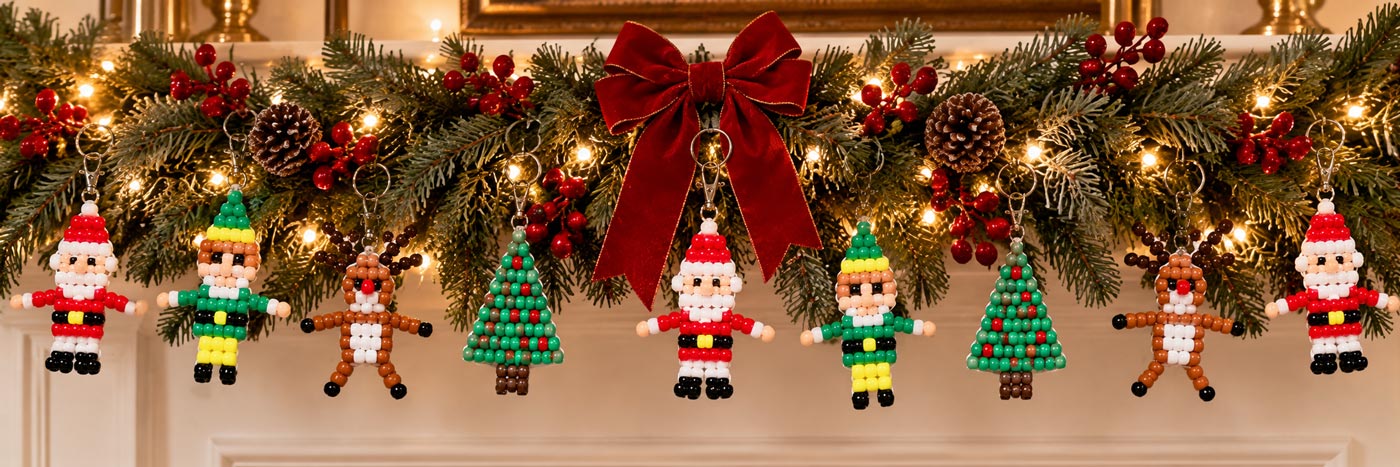
Your pony bead Christmas tree ornament keychain is now complete! Add an ornament hook and hang it on your tree, latch it onto garland, or attach it to your keys, backpack, purse, or gift package.
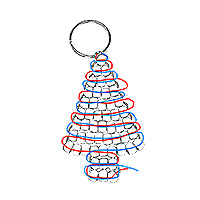
The Christmas tree bead diagram below uses red and blue lines to show the path of each cord as it weaves through the beads. Follow these colored lines to see how the rows are connected and how the trunk is formed. Click the diagram to open a larger image for easier viewing.
Make It Your Own
Have fun decorating your Christmas tree with different bead colors and finishes. Try translucent pony beads to create a Christmas ornament that allows light to shine through the beads. Pearl, glitter, metallic, and other decorative finishes can also give your tree a different holiday look. Choose traditional Christmas colors, bright multicolored ornaments, or beads that match your holiday decorating theme. Make several trees in different color combinations for handmade gifts, Christmas ornaments, or festive keychains.
Did You Know?
Decorated evergreen trees became popular Christmas symbols long before electric lights were invented. Early Christmas trees were often decorated with fruit, nuts, paper ornaments, candles, and other handmade decorations. Your colorful pony beads can represent the lights and ornaments found on modern Christmas trees, making this little beaded tree a fun way to continue the tradition of handmade Christmas decorations.

 1 - Lanyard Hook
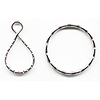 1 - Key Ring
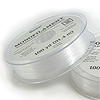 Monofilament Cord
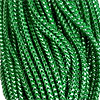 2mm Metallic Cord
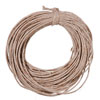 1mm Jute or Hemp Cord
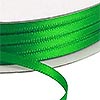 1/8" Satin Ribbon
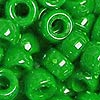 38 - Green Pony Beads
 7 - Assorted Pony Beads
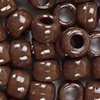 6 - Brown Pony Beads
 1 - Star Pony Bead
 Glue
Glue Scissors
 Ruler or Measuring Tape