Craft Supplies - Craft Supplies Online - Buy Craft Supplies
Quality Craft Supplies Ranging From the Usual to the Not So Usual, Delivered To Your Door
Excellent Customer Service - Fast Shipping - Online since 1994!

In business since 1985. Online since 1994. We sincerely thank you for supporting family owned, family operated businesses!

Give us a call from 8am to 6pm Mon-Fri. We are available to answer questions or to take your order.
(361) 645-3325

Pony Bead Platypus Keychain Pattern - Pony Bead Critters

Have you ever seen an animal quite like a platypus? With a bill like a duck, a tail like a beaver and webbed feet, it's almost as if someone couldn't decide what kind of animal to make! Now you can have a little fun creating this unusual critter with our pony bead platypus pattern.

Dive into a craft so delightfully fun, it’s practically platypus-approved! Meet a little perky platypus, your new favorite tiny, toothless, tail-wagging (well, figuratively) friend. This isn’t just any craft — it’s a splash of joy, a snap of creativity, and a waddle-worthy work of art that fits in the palm of your hand. If you are a fan of the cartoon character Perry the Platypus, aka Agent P, you can make one of your own!(IYKYK)

Share your keys with a special visitor. He is a cute and unique animal that is fun and easy to make. Pony bead platypus keychains are great to give as gifts or bazaar projects but don't forget to keep one for yourself!

Perfect for classrooms, birthday party goody bags, or as a quirky keychain jingling on your backpack, this pony bead platypus is as versatile as he is adorable. And yes, we’re talking to you, fellow platypus lovers — the ones who know that monotremes are nature’s greatest plot twist. This little beaded buddy is your spirit animal made crafty.

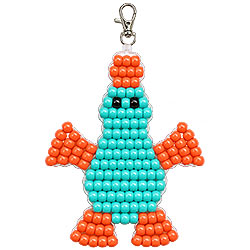
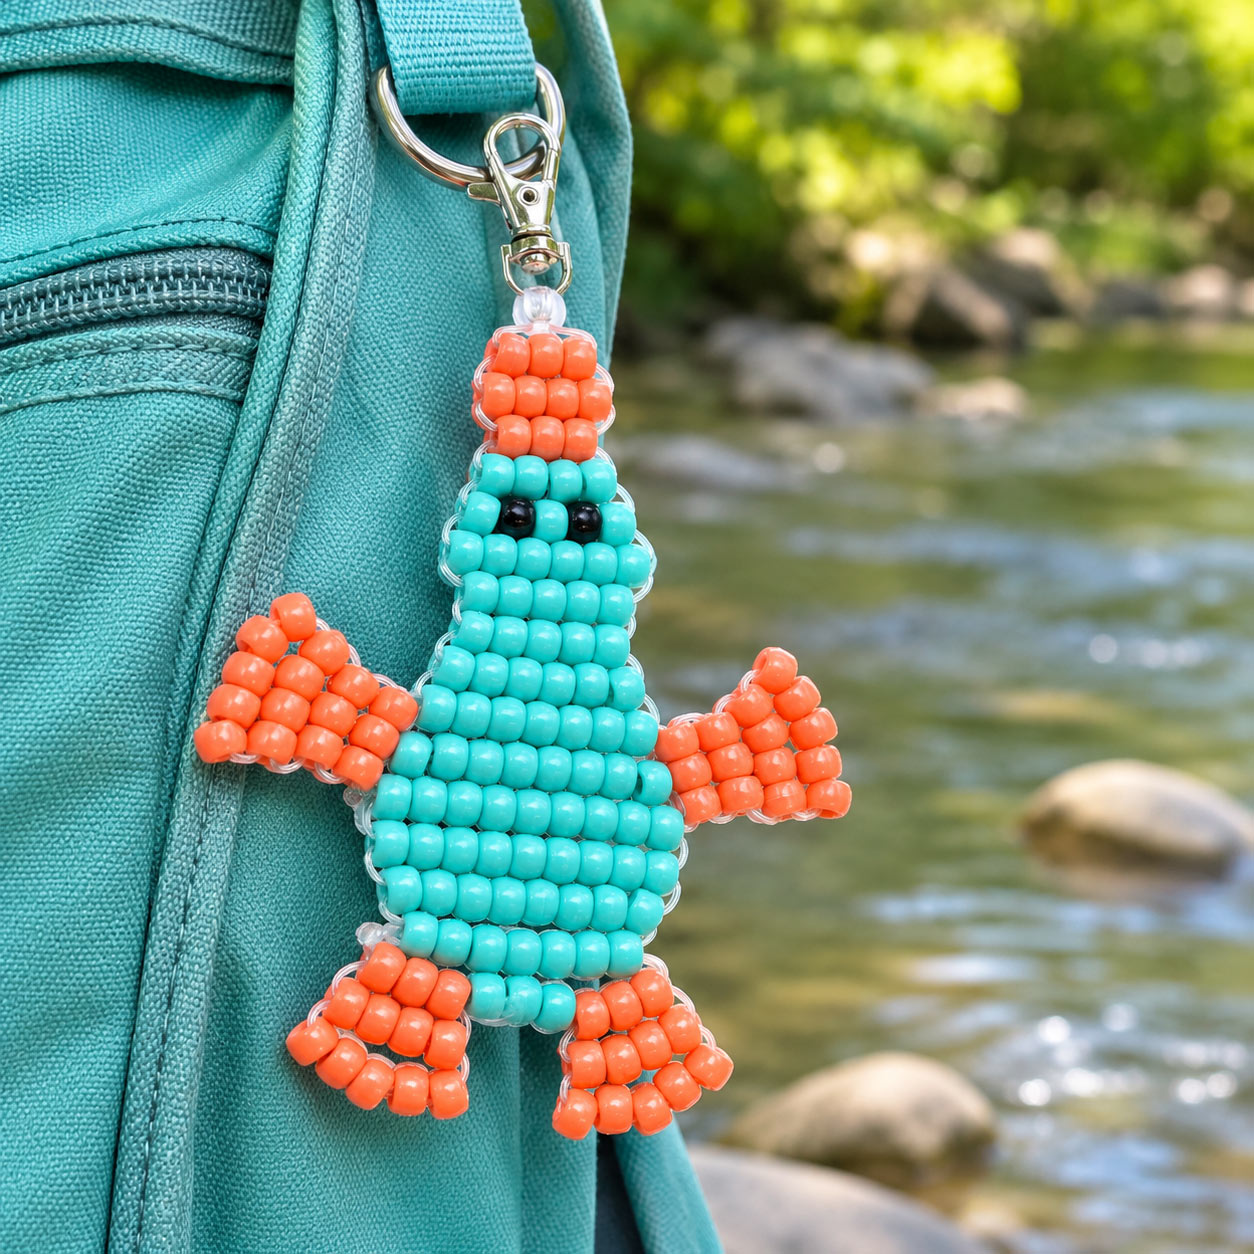
Pony bead platypus keychain craft idea using a pony bead keychain pattern.

If you make this project please share your photos with us. With your permission we'll add it to the page and credit it to you.

Bonus Information You Didn't Ask For
Did You Know?

Scissors have been around for thousands of years. Some of the earliest known versions were spring scissors, made from a single piece of metal with two blades that were squeezed together to cut. The familiar design with two crossed blades joined at a pivot appeared much later, but the basic idea has remained remarkably unchanged. From cutting cloth and thread to paper, ribbon and countless craft materials, scissors may be one of the oldest tools still found in almost every craft room today.

Gather Your Supplies

Note: To help you locate the material required for this project, some of the materials listed may be linked to this or other websites and may contain affiliate links.
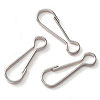
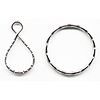
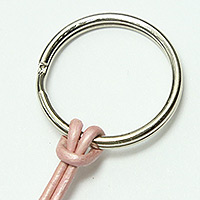
    • Lanyard hook for a pony bead platypus keychain. 1 - Lanyard Hook OR Key ring for making a pony bead platypus keychain. 1 - Key Ring
    • The lanyard or keyring are just a standard recommendation. If you are making an ornament out of this pattern you might want to use a decorative ornament hook instead, or even a jump ring and decide how to connect it later.

    • Cord - 2 pieces: 2 ft and 6 ft

      This platypus uses two separate pieces of cord. The shorter 2 ft cord is used for the 30 beads that make up the upper feet. The remaining 117 beads are threaded onto the longer 6 ft cord.

      There are lots of different types of cord you can use for your beaded platypus. Of all the different kinds of cords we've tried, a flat plastic lacing such as Rexlace (also called boondoggle or plastic lace) seems to work best on all of these types of patterns. It just seems to help the rows of beads sit neatly together without bunching or curling as easily and keeps your finished project shape better. Round cords, about 1 1/2mm to 2mm thick also work well and there is a plastic cord out there called pony bead cord that is supposed to be good but I haven't tried it so I can't say from experience. If all you have is a thinner cord, you can weave a little wire or a pipe cleaner into your project to help it hold its shape.

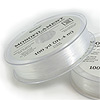
      Monofilament cord for making a pony bead platypus keychain. Monofilament Cord OR Metallic cord for weaving a pony bead platypus pattern. 2mm Metallic Cord

      Helpful Hint: If your cord end frays easily, try dipping the end of your cord into a little melted wax and smoothing it out with your fingers. This helps prevent fraying and creates a stiffer end for threading through your beads.

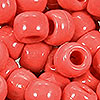
    • Pony beads for making the body of a beaded platypus keychain. 80 - Pony Beads (For the platypus body.)
    • Pony beads for making the bill and feet of a pony bead platypus. 64 - Pony Beads (For the bill and feet.)
    • Black pony beads for the eyes of a pony bead platypus keychain. 2 - Black Pony Beads (For the eyes.)
    • Clear pony bead for making a beaded platypus pattern. 1 - Clear Pony Bead
    • Glue for securing knots on a pony bead platypus keychain. Glue (We used super glue.)
    • Scissors for cutting cord when making a pony bead platypus pattern. Scissors
    • Ruler or measuring tape for a pony bead platypus keychain project. Ruler or Measuring Tape
    • Optional: For a stiffer beaded platypus, you can include a piece of pipe cleaner or wire on the widest row of your project to help it keep its shape.

      Beading wire to help a pony bead platypus keychain hold its shape. Beading Wire OR Chenille stem for supporting a beaded platypus craft project. Pipe Cleaners

How To Make It

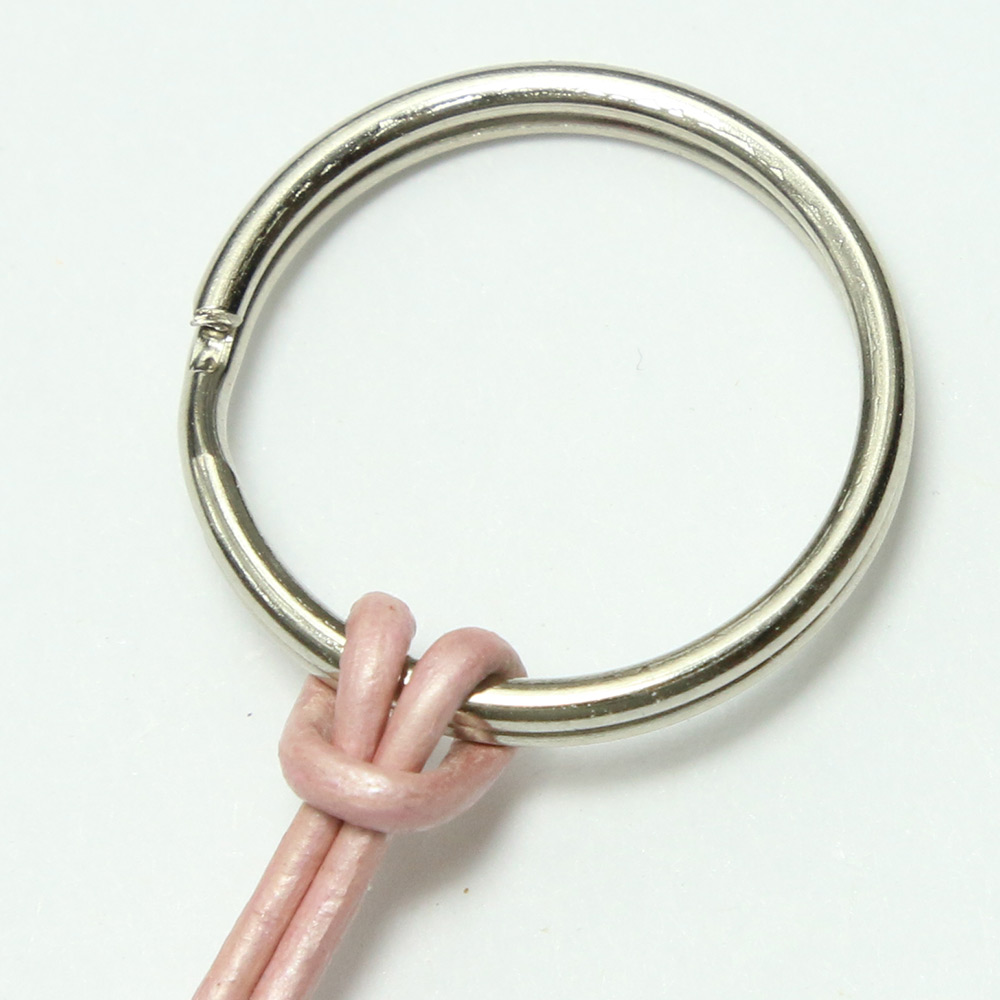
Lark's head knot for starting a pony bead platypus keychain pattern.1. Locate the halfway point of your longer cord and fold it in half. Attach the folded cord to your key ring or lanyard hook using a lark's head knot as shown in the photo. You should now have two cords with equal length hanging from the key ring.

Note: Omit the previous step if you are using a different type of connector. You will still want to fold your longer cord in half so you have two even lengths to begin weaving your beads.

2. Thread both ends of your longer cord through the clear pony bead and slide it up against the connector. I have found that this little step is quite helpful. It helps keep the cords together which gives your platypus a neat starting point, and provides a little separation between the connector and the beaded body and since this bead is clear it doesn't change the appearance of your pony bead platypus.
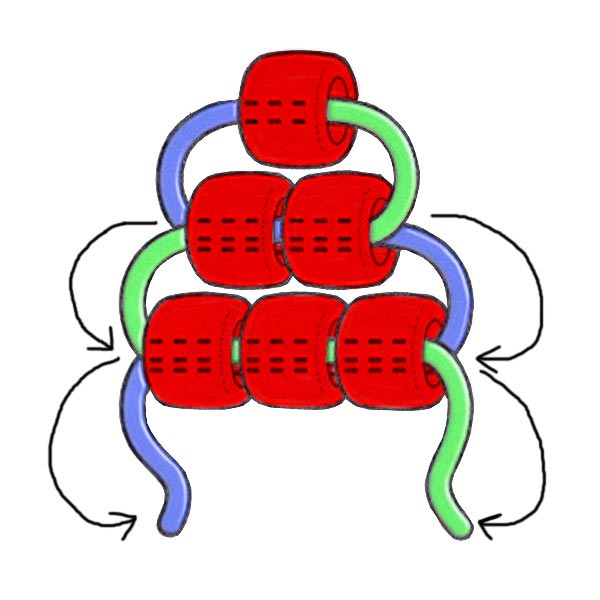
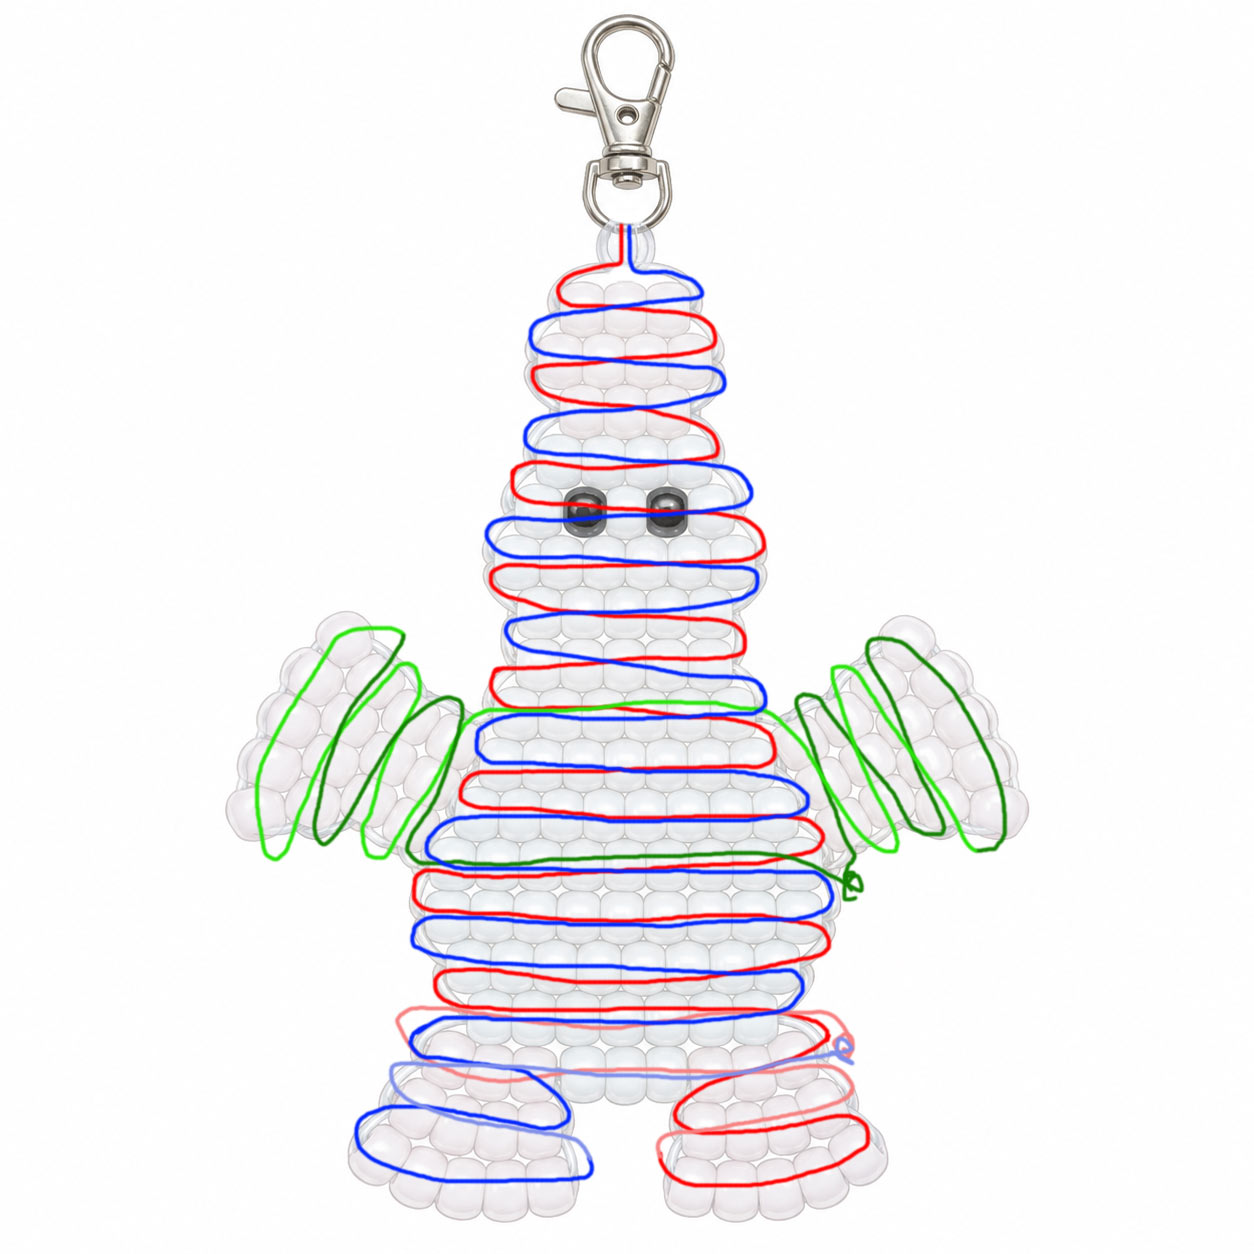
Illustration of the cord weaving method used for pony bead platypus keychain patterns.3. Using the platypus bead diagram below, begin weaving the rows beneath the clear bead. Thread the beads for the first row onto one cord, then pass the other cord back through those same beads from the opposite direction. Pull both cords until the beads sit together beneath the clear bead.

4. Continue following the red and blue cord paths in the diagram, working through the platypus pattern one row at a time. When you reach the upper feet, skip them for now and continue weaving the main body down to the lower feet as shown. The back feet require a little weaving back through previous rows. The diagram will help you through their cord paths.

Note: The tension of your cord does make a difference. The rows should sit together without being pulled so tightly that your platypus begins to curl or twist. If a row doesn't sit straight, just loosen it, straighten the beads and pull the slack out again.

5. When you finish weaving the main body and lower feet, bring the two ends of the longer cord together at the finishing point shown in the diagram. Tie them securely using a surgeon's knot or a double knot. Apply a drop of glue to the knot to prevent it from coming untied and trim the excess cord after it's dry.

6. Now it's time to add the upper feet using your shorter piece of cord. The green cord paths in the diagram show how this second cord is woven through the beads and body to form the upper feet. Follow the diagram to complete both feet.

7. When you finish the upper feet, tie the two ends of the shorter cord together securely using a surgeon's knot or a double knot. Apply a drop of glue to the knot and trim the excess cord after it's dry.

Note: If your platypus doesn't hold its shape well, you can weave a piece of pipe cleaner or wire through one of the widest rows to help it keep its shape.

Your pony bead platypus is finished! He's ready to tag along on your next adventure.

The illustration below uses red and blue to show you how each side of your longer cord is woven through the beads. The green path shows how the separate, shorter cord is woven to make the upper feet. The path color will change to a different shade where that same cord is woven back through a row (red cord changes to pink, etc). It opens to a larger image if you click it.
Pony bead platypus pattern diagram for making a beaded platypus keychain.

Other Ideas and Uses for This Project

Your beaded platypus can go along on a backpack, purse, lunch bag or set of keys. It could also be a fun little gift for someone who enjoys unusual animals, or a party favor for a platypus-themed birthday celebration.

Fans of Perry the Platypus might especially enjoy this project. It's a fun craft to share with kids who enjoy animal characters and making things with beads.

Did You Know?

The platypus is one of the few mammals that lays eggs instead of giving birth to live young. Along with echidnas, platypuses belong to a group of mammals called monotremes. They also have bills that can detect tiny electrical signals produced by their prey while hunting underwater. That's quite a collection of unusual talents for one little unusual animal!

https://www.bjcraftsupplies.com - Every Pattern Deserves a Few Beads at the End
 
 
A Little Help Keeps the Patterns Coming!
The advertising on our pattern pages helps pay for maintaining our collection and adding more free patterns. If you spot an ad that interests you, please click a look! Your help supports the collection and keeps more free patterns coming. More patterns for you, a little help for us. We think that's a pretty good trade!


Still in the Mood to Make Something?
Browse even more free craft ideas and patterns at
You never know what might catch your eye!


Pin It On Pinterest


Click to verify BBB accreditation and to see a BBB report.


© Copyright, 1994-2026, BJ's Craft Supplies, sister site to Craft Supply Depot, All rights reserved, BJ's Craft Supplies.   661 Abrameit Rd, Goliad, TX  77963.
Click our phone number to call us at (361) 645-3325          p0102